Thursday, July 12, 2007

Up and Running


Now that the studio space is conducive to working I'm continuing my series of cloud paintings. Here are my most recent images. They are now at the photographers so they can be documented properly. My little point and shoot digital camera just doesn't do them justice.

They are all 10 x 8 inches, acrylic and collage on canvas. I think they work nicely as a series. I like the four of them together.


I'd love to get feedback on these. What do you like best about them and what don't you like? What would you change?

The PROJECT


This is a picture of my new studio. At least it was... That was in its unfinished state back in February when my wife and I moved into our new home. I'm afraid a bloger I was not. I've been spending all my free time renovating my studio so that it'll be a nice place to spend my time painting, printing and drawing.

The next photo is the same view, but this is what the studio looks like now; after the insulating, and sheetrocking and muding and taping and sanding and more sanding and then the priming and painting. It's been a PROJECT, but I'm done! Plus I'm proud that I did almost all the work myself. I had a little help here and there from my stepfather, and I have to mention that my wife did help me unload several large sheets of sheetrock, though begrudgingly at first.


I'd say a few more before and after shots are in order.

The left side before:


and after:


Here is the other side before:


and after:


Here's a shot of the front of the studio:


Let me know what you guys think. I'd love to hear about those remodel victories and or course disasters, too. It always seems like it's never going to end, but then there is that little glimmer of light at the end of the tunnel.

Tuesday, October 31, 2006

Devesting "Project #2"

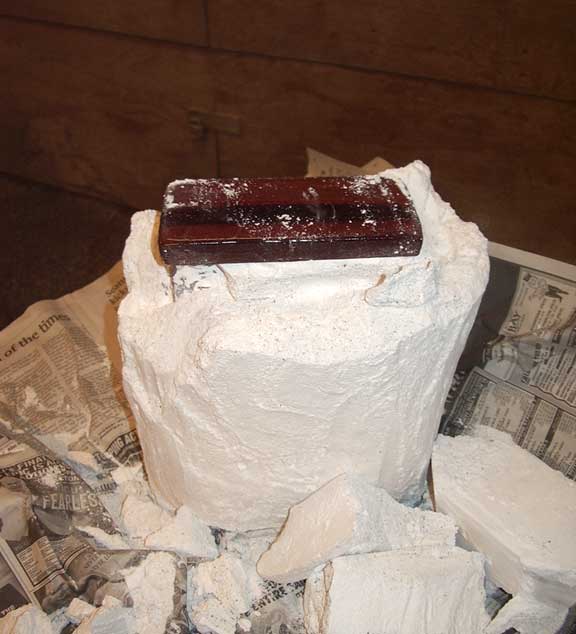
This is an image of my second kiln casting project right after it came out of the kiln. If you haven't checked out the posting immediately prior to this one, I suggest doing so, as things will make a lot more sense. "Devesting" is the process of breaking apart the mold to reveal the sculpture underneath. They do the same thing with bronze casting. It's the most exciting part because as each piece of the mold crumbles away it reveals the nearly finished sculpture below. It's like opening presents on Christmas morning.


Here I've begun to saw into the crumbly mold material with a butter knife and then remove chuncks as they become loosened.

The mold-material is a mixture of plaster and silica. This was a hand built mold, which was applied in layers. The "face coat" is the coat that touches the artwork and is very fine. As we applied subsequent layers we added sand and grog(pulverized bits of fired clay) to add strength to the mold. The mold tends to break off in layers because it was built in layers.


Removing more of the mold, piece by piece. You don't want to get too crazy at this stage, or you might scratch or break the glass underneath.


Here a large chunck of the mold has flaked off to reveal the front of the sculpture.


This is what the piece looks like after it has been devested.

During the mold-making process the mold often gets fine cracks as the plaster-silica dries. Once loaded into the kiln, the glass will fill those cracks as it fills the rest of the mold. This results in "flashing." You can see the unwanted ribbons of glass around the edge of the piece. These will have to be cut off or ground down as part of the finishing process.

Scrubbing with a soft brush and water will remove the rest of the white, powdery mold residue.

Wednesday, October 11, 2006

PONCHO Residency

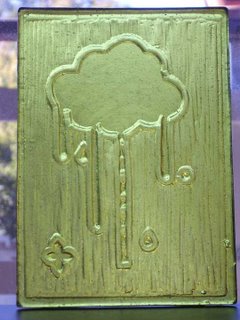
This is a picture of my first project, a finished glass tile. In order to illustrate the process I went through to get the tile I am photographing the various steps of the process for my second project, but first a little background info:

For my PONCHO Artist in Residency I've decided to pursue kiln casting glass tiles at Pratt Fine arts Center in Seattle. My introduction to the process began with a moldmaking workshop where I learned to make plaster molds of tiles and three dimensional objects. We learned to make basic one and two part plaster molds and had a demonstration on making more complicated molds.

In the kiln casting class we have begun by making the form that we wish to cast in wax. This is known as a wax positive. It is surrounded with a plaster silica material to create our mold. Then the wax is steamed out, leaving a negative of the form. Using water displacement we measure how much material is needed to fill the mold and then supply that amount of lead crystal glass. The glass and the mold are loaded into the kiln and then heated or "fired" to the appropriate temperature. The glass becomes molten and fills the mold. Once the glass is brought down to room temperature again (over the course of a week) we can take the mold (now filled with the glass) out of the kiln. We then "devest" the mold by breaking away the plaster-silica, and what we are left with is the glass, which has assumed the shape of our original wax form! This technique is called "lost-wax casting," because the original wax form is melted as a result of the process. The resulting mold is only usable once and is known as a "waste mold" because we have to break it apart in order to get the finished glass form out.
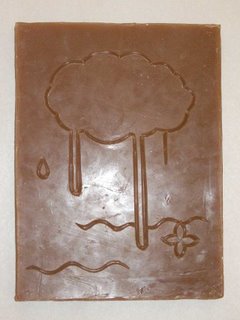

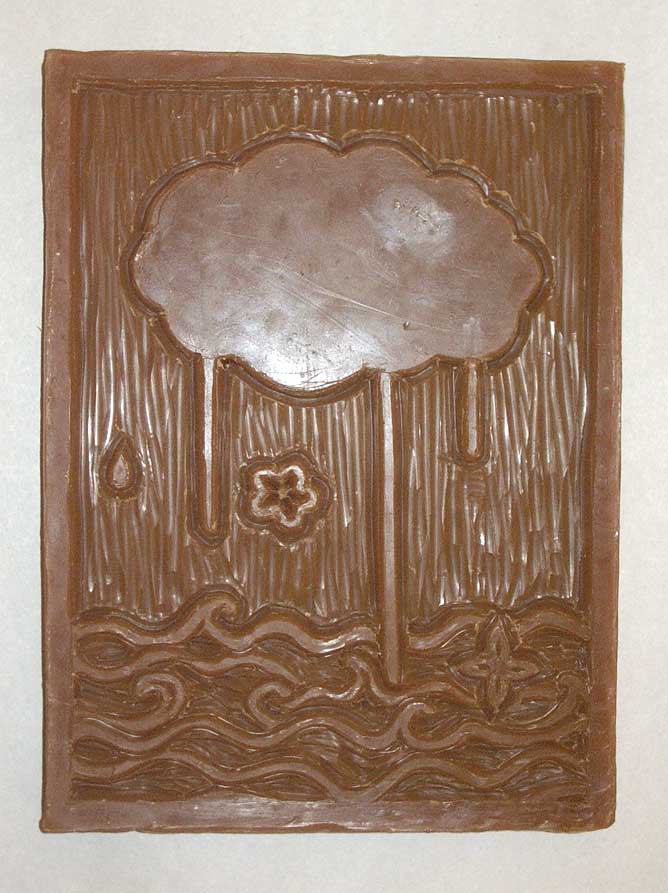
This is the wax tablet that I have just begun to carve into for my second project.

This is the (nearly) completed wax tablet. I will surround this with the plaster-silica mixture to create the mold that will eventually be filled with glass. I attached a base to this wax piece, which is not pictured, but will be apparent in the finished piece.

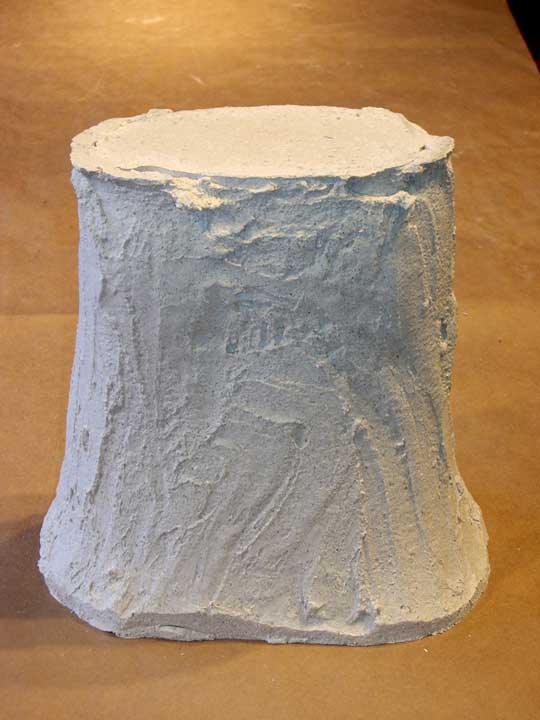
This is an image of the wax form encased in the plaster-silica mold. The wax is standing right-side up within the mold.
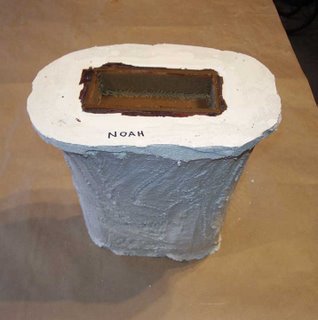
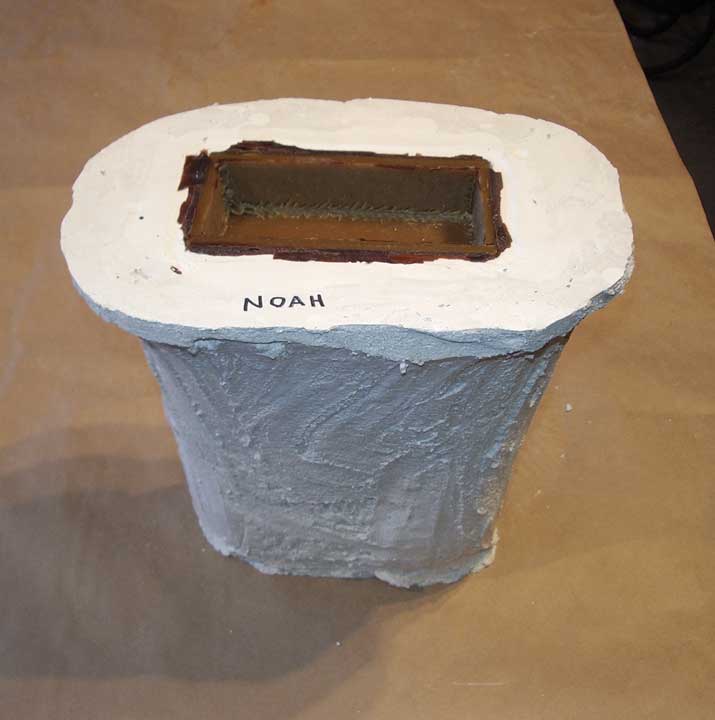
Here the mold is inverted so that the wax form is now upside-down. I will use the area where the wax is exposed to heat the wax, melting it out of the mold and creating room for the glass to occupy later on.

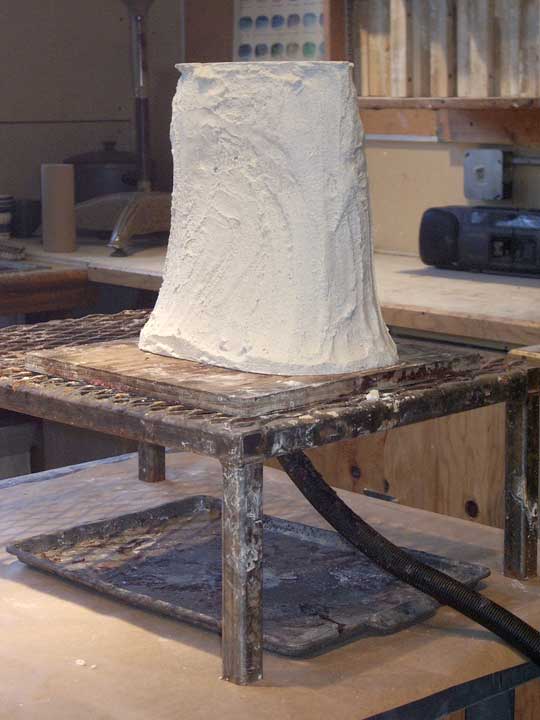
This is an image of the mold with the wax opening on the bottom. It is placed on a perforated platform with a tube providing hot steam, so that the steam will melt out the wax.
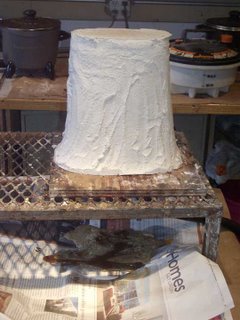
Here you can see the wax dripping out of the mold and pooling on top of the newspapers.

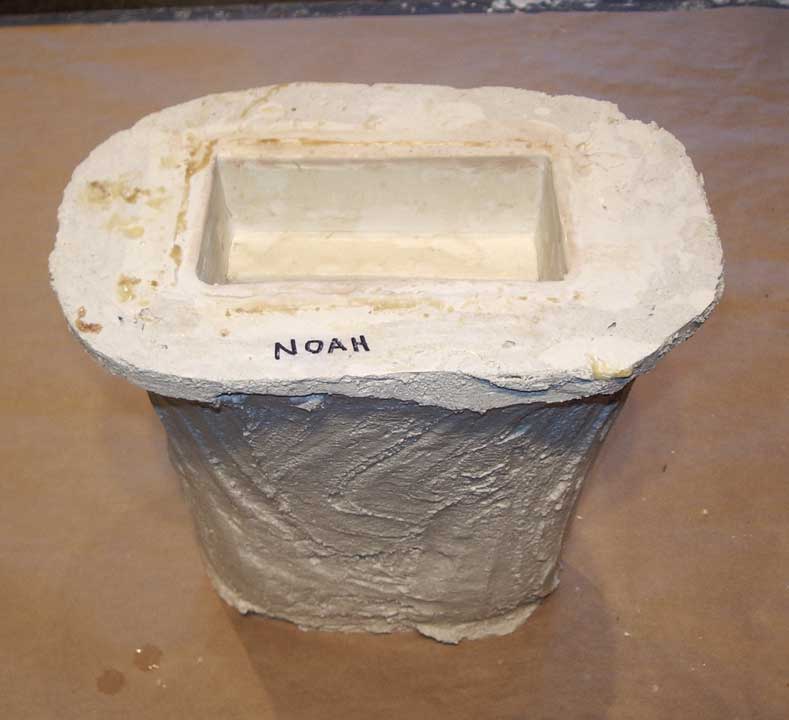
This is the mold after being steamed out. It is now hollow. At this stage it is filled with water so that I can determine the volume of glass needed to fill the form. It's important to measure the volume now, while the mold is freshly steamed out and has absorbed all the water it can take; otherwise, if I try to measure the volume later on when the mold is dry, the plaster-silica will absorb a portion of the water, and I will not get an accurate reading of the volume.

Peering down into the steamed out mold.

Here you can see the face of the mold where I carved into the wax. The glass will pick up every fine detail, including the slight cracks at the edge of the mold. Hard corners and edges create stress on the mold and are likely to crack as seen here. The glass will fill those cracks and will have to be ground down as part of the finishing process.

The kiln will be loaded with the mold and the crushed glass frit on Tuesday. The firing will take 1 week and I'll pull my mold out of the kiln on the following Tuesday to devest it and see how things went!

Monday, July 24, 2006

Home Sweet Home

Down at the studio we've shaken things up a bit. We've installed new track lighting, which looks great and shows off the artwork much better, one of our studio mates has moved out and we already have a new gal who is excited to fill the vacancy. Meg Pettibone will be joining Roger Willsie and I. Meg has done quite a bit of stone sculpting in the past, but has more recently commissioned me to help her print some beautiful drypoint plates. They are quite nice and we're excited to have her sharing our space.

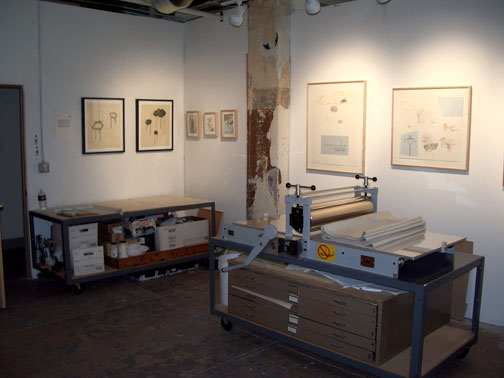
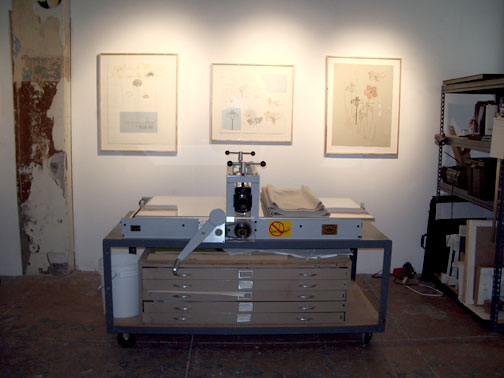
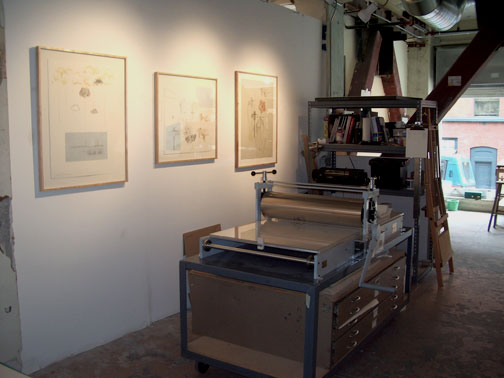
Since Maura Allen has left I decided to move my space closer to the door. It's a slightly longer space, which seems to accomodate my Takach table top etching press more comfortably and allows me more wall space for exhibiting some of my larger works on paper. I've included a few images of the new setup, which I'm very excited about.

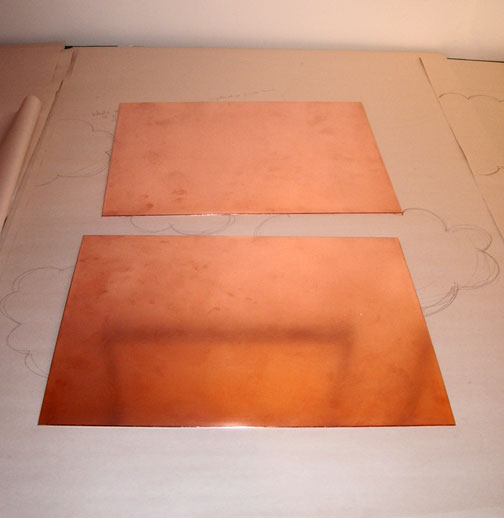
I've been working down at Pratt Fine Arts Center's printmaking studio this week. I've begun two new copper plates on which I plan to create an image using drypoint and aquatint inspired by my large nine panel piece. The photo is of the polished plates with beveled edges prior to any drypoint work. I've already scratched my imagery into the plates with a drypoint needle and have almost finished preparing the plates for the acid bath. It's been a little while since I've done any etching, and everything seems to take twice as long as I think it will. Anyway the progress so far is encouraging and I hope to pull a proof from the plates within the next week or so.

Saturday, July 15, 2006

Let's Start at the Beginning


Well, (gulp) here goes...

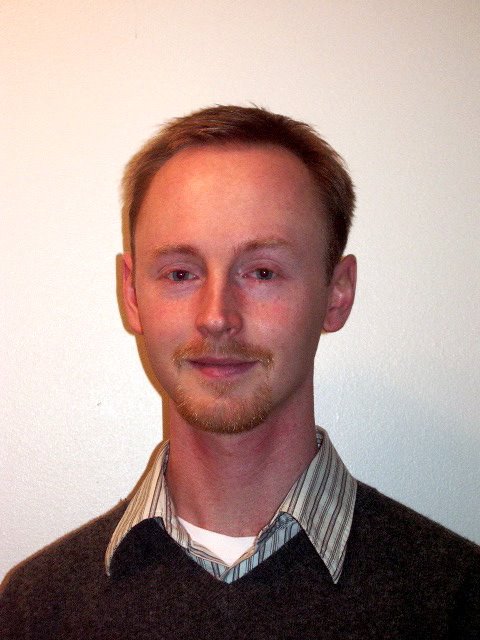
I am officially stepping into the 21st century and I've decided to create my own blog to keep everyone up to date on news, events, happenings of interest, and ponderings related to my studio art work.

A bit of obligatory background info: I am an artist based in Seattle, Washington who uses watercolor, graphite pencil and collaged prints to create works on paper with a hushed, meditative mood. I depict Geisha, floating cloud forms and floral imagery in assembled, patchwork-like compositions that are intended to spark associations for the viewer while producing a quieting or calming effect.

I have a fairly unique background. I was born in Hawaii and spent time on both the East and West Coasts as well as Misawa, Japan before my 9th birthday. My teen years were spent blowing glass and working in the kitchen at The Pilchuck Glass School in Stanwood, Washington, which is the famous stomping ground for Seattle's International Glass Guru, Dale Chihuly.

I intended to follow in the footsteps of my very talented, glass artist mother, Judith LaScola, until discovering the printshop at Pilchuck. I began learning about monoprinting by assisting Italo Scanga, a family friend and a prolific painter, sculptor and printmaker. I was hooked on the printshop and ended up attending the University of Washington's printmaking program.

Right after graduating magna cum laude from the University of Washington's Printmaking Program in 2001 I spent time at Pilchuck as the printshop coordinator, then returned to Seattle where I've been exhibiting at a variety of local venues. I currently operate my studio in The Tashiro Kaplan Arts Building located at 3rd Ave South and South Washington Street in Seattle's Pioneer Square Neighborhood. The area is known for it's galleries, artist lofts, bars and nightclubs. If you'd like to learn more about the Tashiro Kaplan Building there is much information about the project and its inhabitants at www.tashirokaplan.com.